Table of Contents
ToggleNavigating the sprawling wizarding world of Hogwarts Legacy means understanding where to spend your galleons. Whether you’re hunting for the perfect wand, stocking up on potions ingredients, or grabbing cosmetics to customize your robes, knowing every shop name and location can save you serious travel time. This guide covers every merchant and vendor scattered across Diagon Alley, Hogsmeade, and Hogwarts Castle itself, so you’ll never waste a journey looking for the wrong shop.
Key Takeaways
- Hogwarts Legacy shops are concentrated in three main hubs—Diagon Alley, Hogsmeade Village, and Hogwarts Castle—each specializing in different items like wands, potions, gear, and cosmetics.
- Ollivander’s Wand Shop in Diagon Alley is your exclusive source for wands, which directly affect spellcasting performance and DPS output, making it essential for early and regular progression.
- Honeydukes in Hogsmeade is the primary supplier for potion ingredients and alchemy materials, critical for crafting custom potions and maintaining combat buffs before difficult encounters.
- Hidden shops like The Hog’s Head and The Undercroft offer unique and rare cosmetics, gear, and dark magic supplies unavailable elsewhere, rewarding players who explore beyond main areas.
- Planning shopping routes—bundling Hogsmeade’s four shops into a single ten-minute run or hitting Diagon Alley vendors efficiently—prevents wasted travel time and galleons throughout the game.
- Stock up strategically with 10,000–15,000 galleons before story missions, and visit shops immediately after major story beats to access newly unlocked inventory with improved rarity tiers.
What Are Shops in Hogwarts Legacy?
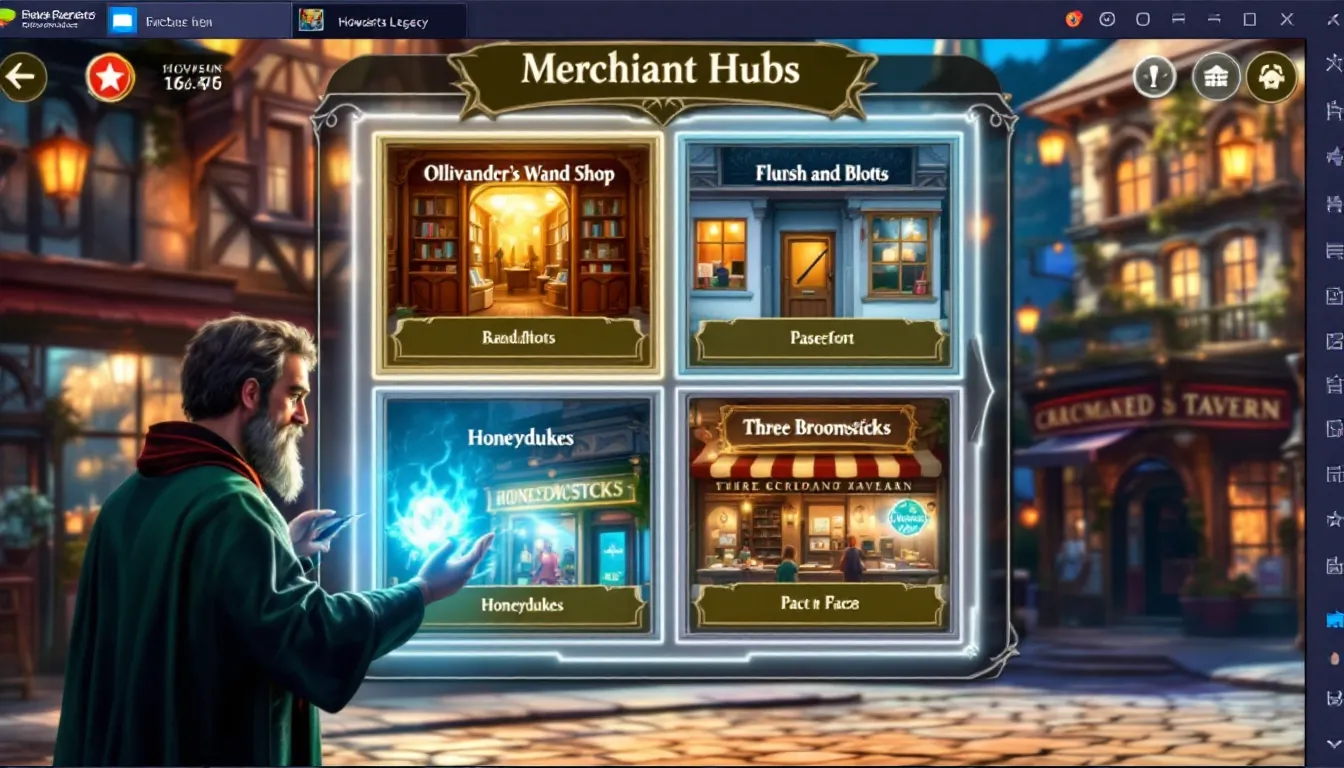
Shops in Hogwarts Legacy function as your primary source for gear, potions, wands, and cosmetic items. Unlike some RPGs where you find everything scattered across the world, Hogwarts Legacy concentrates merchants in three main hubs: Diagon Alley, Hogsmeade Village, and Hogwarts Castle itself.
Each shop specializes in different items. Some sell combat-ready equipment and apparel with actual stat bonuses, while others focus on brewing supplies and cosmetics. Prices vary by rarity and item type, and you’ll earn galleons through combat, exploration, and completing quests. Understanding the shop layout isn’t just about convenience, it affects how efficiently you can gear up mid-campaign.
Shops don’t have inventory caps or resets in the traditional sense. Stock refreshes as you progress through the story, meaning rare items become available at certain story checkpoints. This makes knowing where specific shops are located crucial for min-maxing your loadout at key moments in the game.
Diagon Alley Shops
Diagon Alley serves as Hogwarts Legacy’s primary shopping district. You’ll fast-travel here multiple times to restock and buy high-tier gear. The area has four main shops, each packed into the iconic street.
Ollivander’s Wand Shop
Ollivander’s is your exclusive wand retailer. This isn’t cosmetic, your wand choice directly affects your spellcasting performance. The shop stocks wands with different handle materials, core types, and lengths, each carrying specific stat distributions.
Wands aren’t just appearance pieces. They influence your character’s DPS output and elemental affinities. Visiting Ollivander’s is essential early game to grab a starter wand, but you’ll return regularly as new inventory unlocks. The shop’s location is right at the Diagon Alley entrance, making it hard to miss.
Flourish and Blotts
Flourish and Blotts handles spell books and knowledge-based items. While it doesn’t sell combat gear, the shop’s inventory includes books that unlock new spells and abilities. This makes it a critical stop for players looking to expand their spell repertoire beyond story progression.
The shop is positioned deeper into Diagon Alley, past the main street. Inventory updates frequently, so checking back after major story beats ensures you’re not missing newly available spells that could shift your combat strategy.
Eeylops Owl Emporium
Eeylops Owl Emporium specializes in creatures and companion-related items. If you’re looking to purchase owls or other magical creatures to carry your items, this is the destination. The shop also carries creature-specific gear and consumables.
Located in a side alcove of Diagon Alley, Eeylops is easy to overlook if you’re rushing. But, creature items can provide passive bonuses and utility, making it worth a visit when preparing for challenging encounters.
Gringotts Wizarding Bank
Gringotts isn’t a traditional shop, but it serves an important function in Hogwarts Legacy’s economy. The bank is where you convert currency or manage high-value transactions. While not a primary shopping destination, understanding its role in the game’s economy is important for long-term planning.
Gringotts occupies a massive, distinctive building at Diagon Alley’s far end. Visual landmarks make it unmissable, but its primary function is economic management rather than inventory purchase.
Hogsmeade Village Shops
Hogsmeade represents the second major shopping hub, accessible after early story progression. The village feels more intimate than Diagon Alley but offers equally important inventory. Four shops dominate the village center.
The Three Broomsticks
The Three Broomsticks functions as Hogsmeade’s tavern and social hub. Beyond roleplay appeal, this location sells Butterbeer and other consumable items that provide temporary buffs. Combat buffs from consumables can make a real difference during tough boss fights.
The shop sits prominently in Hogsmeade’s main square. Its bright exterior makes navigation trivial, but don’t confuse it with the nearby Hog’s Head, the three broomsticks imagery on the sign is unmistakable.
Honeydukes
Honeydukes is the sweet shop, but don’t let the name fool you. Beyond confections, Honeydukes stocks potions ingredients and alchemy materials. If you’re brewing custom potions, this shop is essential for restocking base ingredients.
The shop’s candy-colored storefront stands out visually in Hogsmeade. Regular visits ensure you maintain a healthy potion supply, especially before tackling high-difficulty content. Stock refreshes as you progress, unlocking rare ingredients at specific story intervals.
The Hog’s Head
The Hog’s Head is another tavern-style location, but it caters to a different clientele than the Three Broomsticks. This grittier establishment sells rare and sometimes illicit items unavailable elsewhere. Some players miss this shop entirely because it’s tucked away from the main square.
The Hog’s Head occupies a side street in Hogsmeade, requiring deliberate navigation. But, the unique items available, including certain cosmetics and specialty gear, make it worth seeking out. Check back after major story events for new inventory.
Scrivenshaft’s Quill Shop
Scrivenshaft’s Quill Shop specializes in writing supplies and stationery, but also stocks certain cosmetics and outfit accessories. For players focused on character customization, this shop offers unique appearance modifiers unavailable elsewhere.
Located on Hogsmeade’s eastern edge, Scrivenshaft’s is one of the quieter shops but shouldn’t be overlooked. Regular inventory updates mean new cosmetic options unlock as the game progresses. It’s particularly valuable for players invested in roleplaying specific character aesthetics.
Hogwarts Castle Shops and Vendors
Beyond the villages, Hogwarts Castle itself houses two important shopping locations. These vendors offer convenience for players deep in castle exploration.
The Undercroft
The Undercroft is Hogwarts’ underground marketplace, accessible through specific progression. This location sells dark magic supplies and alternative gear that deviates from standard offerings. The shop’s inventory directly reflects your character’s moral alignment choices.
The Undercroft is intentionally hidden beneath the castle, requiring players to seek it out. Its location and availability shift based on story choices, making it feel genuinely secretive. The gear here often carries unique appearances and stats unavailable elsewhere, making repeat visits worthwhile for players experimenting with different builds.
The Owl Post
The Owl Post operates as Hogwarts’ in-castle convenience shop. It carries common items, potions, and quick-restock supplies without requiring travel to external villages. While inventory is more limited than dedicated shops, the accessibility factor is huge.
Located in the main castle areas, the Owl Post is easy to access during extended dungeon crawls or exploration sessions. It’s not a destination visit, it’s a safety net. Many players rely on it for emergency potion restocks before tackle optional bosses or challenging encounters.
Shop Locations and Navigation Tips
Fast-travel is your friend. Every major shop has a nearby Floo Flame fast-travel point, so memorize those locations. Diagon Alley’s central Floo Flame drops you near Ollivander’s and Gringotts, while Hogsmeade’s primary flame sits in the village square.
When navigating new areas, use the map liberally. Shop markers appear distinct on your HUD, they’re marked with unique icons representing their function. This makes finding specific vendors during your first visit relatively painless. Write down fast-travel locations near your favorite shops so you’re not constantly checking the map mid-session.
Shops cluster geographically for efficiency. Hogsmeade’s four shops sit within a compact area, you can visit all of them in under five minutes if you know the routes. Diagon Alley spreads further, but Floo Flame placement means you’re never more than a brief walk from any vendor. Planning your shopping routes prevents wasted travel time.
Inventory stock varies by shop and story progression. Some items only unlock after completing specific quests or story chapters. If you’re looking for a particular piece of gear and can’t find it, check your quest log, you might need to progress further before it becomes available. This is especially true for rare equipment with story-locked availability.
What You Can Buy at Each Shop
Understanding what each shop sells prevents frustrating searches. While there’s some overlap, specialization means knowing which vendor handles your needs.
Potions and Ingredients
Potions are crafted, not purchased directly, but ingredients must be bought. Honeydukes is the primary ingredient supplier, stocking everything from kneazle fur to powdered moonstone. Potion-crafting is essential for sustained combat, custom brews provide buffs unavailable through standard gear.
Ingredient pricing scales with rarity. Common materials like nettle vines run cheap, while rare components cost significantly more. Budget accordingly when stocking up, especially before tackling high-difficulty content. The shop refreshes stock regularly, and inventory expands as you progress through the main story.
The Three Broomsticks carries pre-made consumables like Butterbeer, offering instant buffs without crafting time. These consumables provide temporary stat boosts, perfect for boss fights or challenging encounters. While more expensive than crafting potions yourself, the convenience factor is real.
Gear and Equipment
Gear purchases happen primarily in Diagon Alley. Ollivander’s handles wands, which directly impact spellcasting effectiveness. Each wand carries different stat distributions, some favor damage output, others improve accuracy or elemental damage.
Apparel and armor pieces scatter across multiple shops. Higher-rarity gear unlocks as you progress, and specific pieces require story completion. Check back after major plot points, new equipment becomes available regularly. Gear rarity directly correlates with base stats, so hunting for high-rarity items is worthwhile for optimization.
The Undercroft offers alternative gear aligned with dark magic specialization. If you’ve committed to darker spell schools, this shop’s inventory provides gear specifically tuned for those abilities. This includes robes, accessories, and weapons that wouldn’t appear in standard shops.
Cosmetics and Customization Items
Cosmetics are pure appearance modifications without stat impact. Scrivenshaft’s Quill Shop specializes in outfit pieces, accessories, and appearance modifiers. Players focused on roleplay find this shop essential for maintaining specific character aesthetics.
Cosmetic pricing is significantly cheaper than stat-carrying gear, making fashion-focused players’ lives easier. New cosmetic items unlock regularly, especially during seasonal updates and story expansions. Check the shop frequently if appearance customization matters to your experience.
The Hog’s Head carries exclusive cosmetics unavailable elsewhere. These items often reflect the shop’s grittier aesthetic, darker robes, alternative hairstyles, and specialty accessories. If you’ve seen cosmetics elsewhere and can’t find them, check the Hog’s Head before assuming they’re story-locked.
Shop Currency and Pricing Guide
Galleons are Hogwarts Legacy’s primary currency. You earn them through combat, quest completion, and looting defeated enemies. Pricing varies dramatically based on item rarity and type, common items cost hundreds of galleons, while rare gear runs tens of thousands.
Common gear typically costs 500–3,000 galleons. Uncommon pieces range from 3,000–8,000. Rare equipment jumps to 10,000–25,000 galleons, and legendary items often exceed 50,000. Plan your spending accordingly, especially early game when your galleon reserves are limited.
Wands carry premium pricing. Even basic wands cost 2,000–5,000 galleons, while high-rarity wands exceed 15,000. But, wand upgrades are permanent, you’re buying once, not repeatedly replacing them like basic armor pieces.
Ingredients are bulk purchases. Single stacks cost relatively cheap (10–100 galleons per item), but you’ll need multiple stacks for serious potion-crafting. Budget 1,000–5,000 galleons for comprehensive ingredient restocks. This becomes routine spending as you level up your potion-crafting skills.
Consumables like Butterbeer cost 50–200 galleons per unit. They’re genuinely worth the investment before difficult encounters, a 150 galleon Butterbeer providing a 15% damage boost for ten minutes is mathematically sound. Factor these into your pre-boss fight preparation.
Cosmetics range wildly. Basic outfit pieces cost 500–2,000 galleons, while rare appearance items reach 5,000–10,000. These are optional purchases without gameplay impact, so budget them separately from combat-essential gear.
Best Shopping Routes for Efficient Gameplay
Optimize your shopping by bundling visits. After completing quests in Hogsmeade, visit all four village shops in sequence before heading elsewhere. Fast-travel to the Hogsmeade Floo Flame, then hit Honeydukes and the Three Broomsticks (adjacent locations), swing by Scrivenshaft’s on the eastern edge, and finish at the Hog’s Head. Total time: under ten minutes.
For Diagon Alley runs, land at the central Floo Flame, visit Ollivander’s immediately for wands, then sweep through Flourish and Blotts and Eeylops. Save Gringotts for last if you need banking. This route prevents backtracking and keeps you moving efficiently.
Plan around story progression. Certain items only unlock after specific story chapters. Don’t waste time hunting unavailable gear, progress the main quest first, then return to shops. Bookmark locations of newly stocked items you want, then purchase them once they’re confirmed available.
Stock up strategically before story missions. Ingredients for potions, consumables, and fresh gear should be purchased before entering story-locked dungeons. Running out of potions mid-dungeon is genuinely frustrating. Allocate 10,000–15,000 galleons as a buffer for pre-quest restocking.
Use the Owl Post for emergency top-ups. If you’re exploring the castle and health drops low, grab consumables from the Owl Post rather than fast-traveling to a distant shop. Its limited inventory includes essential healing items and basic restocks.
Visit after major story beats. Shops refresh inventory after story progression. Make a shopping run immediately after finishing significant quests to grab newly available gear before starting the next area. This ensures you’re always operating with current-generation equipment.
The game design with Hogwarts Legacy Gear Rarity systems means timing your purchases around newly unlocked rarity tiers makes mathematical sense. Higher-rarity gear becomes available at story checkpoints, and jumping on these upgrades immediately improves your combat effectiveness for upcoming challenges.
Multi-character playthroughs benefit from knowing shop locations. On subsequent runs, you’ll navigate directly to shops without exploration hesitation. Veteran players often complete Hogwarts Legacy speedruns partially because they’ve memorized optimal shopping routes.
For completionists interested in specific gear sets, maintain a shopping list. Note which shops stock pieces you need, then plan runs accordingly. Some unique items require multiple shop visits, assembling a specific outfit might require stops at Scrivenshaft’s, the Hog’s Head, and Diagon Alley vendors simultaneously.
When exploring Hogwarts Legacy Magical Traps or dangerous areas, ensure you’ve stocked consumables beforehand. Running into combat unprepared wastes previously earned galleons on emergency restocking. Prevention beats reactive shopping every time.
During Hogwarts Legacy Night Cycle exploration, shops operate on normal schedules. Some locations remain accessible, while others close at night. Plan night exploration accordingly, don’t get stuck needing a shop that won’t open until morning. Fast-travel to accessible vendors or return to the Owl Post for supplies.
Conclusion
Every Hogwarts Legacy shop serves a purpose, whether you’re stocking ingredients, upgrading gear, or customizing cosmetics. Knowing these locations, inventories, and optimal shopping routes transforms tedious vendor hunting into streamlined efficiency. Diagon Alley handles wands and primary gear, Hogsmeade supplies ingredients and consumables, and Hogwarts Castle provides convenient restocking during extended exploration sessions.
Mastering the shopping system directly impacts combat readiness. Proper gear, potions, and consumables make difficult encounters manageable, while poor equipment choices turn battles into slogs. Treat shopping as an integral part of progression strategy, not a chore to rush through.
Return to shops after story beats, experiment with different vendors, and don’t overlook hidden locations like the Hog’s Head and the Undercroft. The wizarding world’s economy rewards informed players. With this guide in hand, you’re equipped to navigate every merchant from day one.